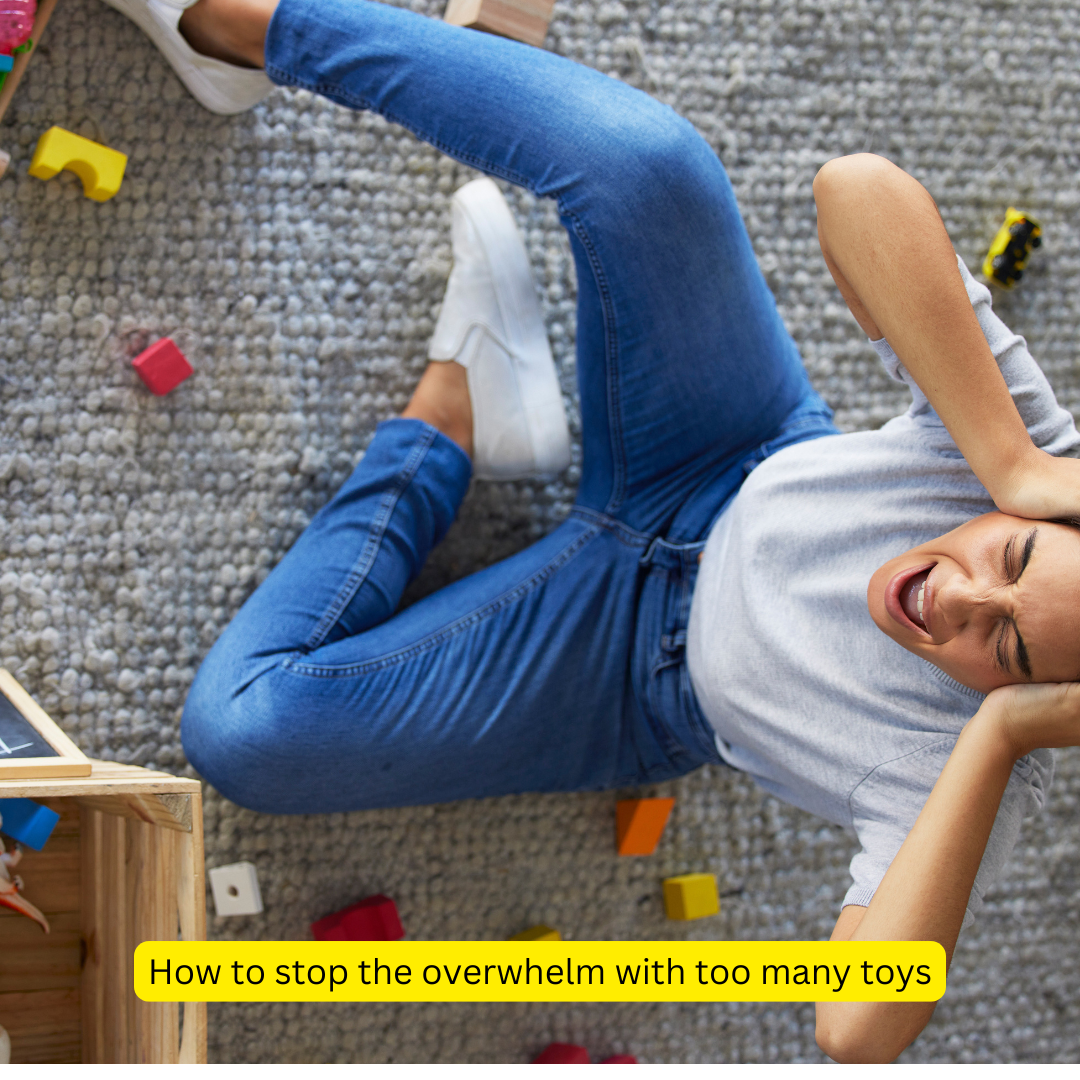
Taking the overwhelm out of decluttering kids' toys.
The holidays are just around the corner, which means new toys and gifts will soon be making their way into your home. But before that happens, it’s the perfect time to tackle the clutter and make space for what truly matters—more meaningful playtime and less chaos! As a mom of 4 kiddos, this was essential for a smooth transition into the holiday season!
Whether you’ve got toddlers or school-aged kids, decluttering their toy collection doesn’t have to be overwhelming. In this guide, we’ll break down simple, step-by-step strategies to help you clear out the clutter, make room for new memories, and set your family up for a more peaceful holiday season.
Step 1: Prep Yourself (and Your Kids!) for the Process
The Problem: Decluttering can feel like an overwhelming mountain to climb (ummm, I have been there) especially with kids who might resist letting go of their beloved (but long-forgotten) toys.
The Solution: Start by mentally preparing yourself—and your kids if they’re old enough to participate. Explain that this process isn’t just about getting rid of things; it’s about making space for the things they love most. Do you remember Marie Kando? She talked about keeping what “brings you joy”. This is the same concept. If you have multiple children, reassure them that each child will have their own say in what stays and goes.
How to Start:
- Gather a few bins or boxes labeled: Keep, Donate, Discard, and Storage (for sentimental keepsakes..cause…you know…there are some things we just can’t quite part with).
- Set a timer for 15-30 minutes to start with, so it doesn’t feel like a marathon.
- Put on some fun music and make it a game! I feel a dance party coming on!!!
Step 2: Sort Toys by Age and Stage
The Problem: If you have kids of different ages, their toys might be all jumbled together, making it hard to know what to keep or toss.
The Solution: Decluttering toys for different ages can be done by separating out toys by age group. This will help you see which toys your older kids have outgrown and which ones your younger kids might still enjoy.
How to Start:
- Start simple, with one shelf, or one bin, or a simple corner of the playroom or bedroom.
- Sort toys into piles for each child or age group.
- For younger children, focus on keeping toys that encourage open-ended play, like blocks, pretend food, or art supplies.
- For older kids, prioritize games, puzzles, and activities that match their current interests and developmental stage.
Step 3: Embrace the 3-Pile Method (Keep, Donate, Discard)
The Problem: It’s hard to decide what to let go of, especially when toys hold sentimental value or were expensive.
The Solution: Use the classic 3-pile method. For each toy, ask:
- Does my child still play with this?
- Is it in good condition?
- Does it align with our family’s values for meaningful play?
How to Start:
- Involve your kids by letting them choose a few toys they’re ready to donate to children in need. This can be a great opportunity to teach them about generosity.
- If there are toys with missing parts or that are broken beyond repair, it’s time to toss them. And it is okay to throw out that random LEGO or game piece that you have no idea where the game is any more.
Step 4: Create a ‘Maybe’ Box
The Problem: Not sure if your child is ready to let go of a certain toy? This uncertainty can slow down the decluttering process. Okay, maybe not slow down but rather full-on halt the process.
The Solution: Use a "Maybe" box for those toys you’re unsure about. Store it away for a month. If your child doesn’t ask for anything in the box during that time, it’s a good sign that it can go.
How to Start:
- Place the box out of sight but set a reminder on your calendar to revisit it in a month. Specifically, put it on your digital calendar, so you get a physical reminder or notification. This is essential. Don’t forget to put the reminder on your calendar or that box will stay with you for another 5 years. =) Don’t ask me how I know!
- This step helps ease the anxiety of getting rid of something your child might miss while still reducing clutter. Win!!
Step 5: Organize What’s Left (hang in there, you’ve got this)
The Problem: Even after decluttering, it’s easy for toys to end up in chaotic piles that are hard to manage.
The Solution: Organize the remaining toys into categories to make cleanup and playtime easier. Clear bins, baskets, or cubbies can help separate toys like LEGOs, dolls, art supplies, and pretend play items.
How to Start:
- Use labels or picture labels for younger kids to make it easy for them to put things away on their own.
- Keep toys that get the most playtime easily accessible while storing others on higher shelves.
Step 6: Set Up for Future Success
The Problem: Without a system in place, clutter tends to creep back in quickly (again, ask me how I know).
The Solution: Now that you’ve decluttered, it’s the perfect time to consider implementing a toy rotation system (which we’ll dive into in our next blog!). For now, think about rotating out toys on a monthly basis to keep playtime fresh and engaging.
How to Start:
- Choose a few toys to keep out and put the rest into bins to rotate every few weeks.
- This prevents overwhelm and keeps your kids excited about the toys they have.
Make Decluttering a Family Tradition
Congratulations! You’ve tackled the toy clutter, and your home is now ready for a calmer, more joyful holiday season. By making decluttering a seasonal habit, you’ll help your kids appreciate their favorite toys even more—and make room for new memories.
Stay tuned for our next blog where we’ll dive into the benefits of toy rotation and how it can keep your kids engaged with fewer toys!
Found this guide helpful? Join our Unplug and Play Challenge for more tips on creating meaningful playtime with your kids using less!
Don’t miss our next blog on toy rotation—subscribe to our email list to get notified of our most recent blogs!

